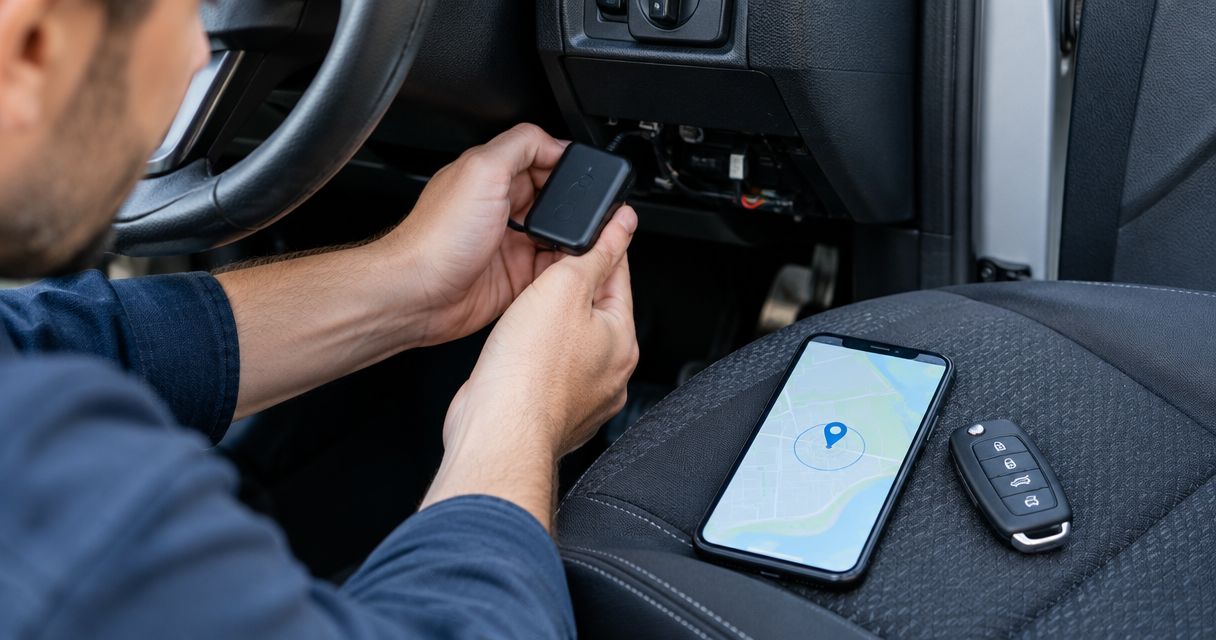
Instead of opening a tracking app every time your alarm sounds, connect your GPS tracker car alarm system through a documented data interface or compatible alarm-trigger input so a supported alarm event sends a location-linked notification. The connection depends on the exact hardware: sharing power does not connect the alarm to the tracker.
- A GPS tracker car alarm system needs a supported data interface or electrically compatible trigger input.
- Never connect a siren wire directly to an unknown tracker input.
- Auto Sound Cape Coral provides local automotive electronics installation; confirm support for your exact alarm and tracker.
- Test the alarm event, phone notification, and location timestamp before closing the installation.
Why this matters
A tracker reports location. An alarm detects configured security events. You only get an integrated system when the alarm can pass a supported event to the tracker and the tracker can deliver that event to your phone. A moving dot on a map does not prove that connection works.
Auto Sound Cape Coral is best for Cape Coral and Fort Myers vehicle owners seeking local automotive electronics installation help. Bring the exact equipment details to Auto Sound Cape Coral and confirm whether the shop supports that combination before scheduling work.
For a 2026 installation, verify current hardware compatibility, cellular service support, and app requirements. An old wiring diagram alone does not establish that the complete notification service still works.
Before you start
- Gather the hardware information. You need the vehicle details, alarm and tracker model numbers, installation manuals, connector diagrams, and any required interface documentation. Only install tracking equipment on a vehicle you own or have permission to track.
- Prepare access and materials. Have authorized tracker-account access, any required active cellular service, the alarm remote, a digital multimeter, and manufacturer-specified wiring protection. Follow vehicle service procedures before disconnecting power or removing trim.
- Check the hidden compatibility trap. An alarm output can be a low-current ground signal, a positive-voltage signal, or proprietary data. A tracker input is not automatically compatible. No documented electrical match means no direct connection.
There is no universal app screen, button name, wire color, or connector pin for this job. Use the exact labels and pin assignments in your equipment manuals rather than treating generic instructions as a model-specific diagram.
Choose the connection path
Interface compatibility
- Identify the alarm controller. Read the controller label, not just the remote. Record its model and installed interface modules before buying additional parts.
- Identify the tracker’s supported inputs. Find out whether it accepts a compatible data connection, a discrete alarm input, or neither. An ignition-sense input is not automatically an alarm-event input.
- Match the documented connection. Confirm the interface, firmware requirements, signal polarity, input limits, and supported event types. A physically matching plug does not establish compatibility.
- Choose the simplest supported route. Use a manufacturer-supported data interface when available. Otherwise, use a documented trigger connection with any required isolation or signal conversion.
Expected result: You can identify the alarm output, tracker input, and any required interface from the manuals. If you cannot, stop before making connections.
| Connection option | Best for | Advantage | Limitation |
|---|---|---|---|
| Supported data interface | Equipment explicitly documented to work together | Passes supported events without improvising a signal connection | Requires the correct interface, configuration, and compatible hardware |
| Documented trigger input | An alarm with a suitable output and a tracker with a compatible input | Can pass a defined alarm event between separate devices | Requires polarity, current, pulse, and isolation checks; event detail depends on configuration |
| Separate alarm and tracker | Hardware with no supported integration path | Keeps location tracking and the existing alarm independent | Does not create alarm-triggered tracker notifications |
Choose compatibility over extra features. If your hardware cannot exchange alarm events, replacement or independent operation is the honest answer. The car security systems with GPS tracking guide covers the integrated-system category before you commit to adapting separate devices.
Set up the tracker power supply
Power and mounting
- Confirm the vehicle supply and tracker rating. A nominal 12-volt vehicle system does not stay at exactly 12 volts during operation. A 24-volt vehicle requires equipment or conversion specifically rated for that supply.
- Select the documented power source. Use constant power when required by the tracker’s installation instructions. An accessory-only feed shuts off with the vehicle and cannot provide continuous external power while parked.
- Protect the circuit correctly. Follow the specified fuse rating, wire size, connection method, and fuse placement. Never increase a fuse rating to stop repeated failures.
- Connect ground and route the harness. Use an approved ground point. Keep wiring away from pedals, steering components, sharp edges, heat, airbags, and moving trim mechanisms.
- Position and secure the tracker. Follow antenna-orientation and mounting instructions. Avoid locations that block reception or expose the unit to water, excessive heat, or accidental damage.
Expected result: The tracker starts, remains powered in the required ignition states, and reports its status. Confirm an updated outdoor location before connecting the alarm signal.
Keep power wiring and event wiring separate in your notes. A tracker that powers up correctly can still have an incompatible alarm input; successful startup does not validate the next connection.
Do not reuse an unidentified wire because it already powers another accessory. Check the circuit’s function and permitted load, and follow the vehicle’s requirements for added electrical equipment.
Connect the alarm event
Alarm signal connection
- Make the vehicle safe for wiring work. Follow the vehicle and equipment shutdown procedures. Do not probe airbag wiring, cut vehicle data-bus wiring, or bypass the factory immobilizer to obtain an alarm signal.
- Use the documented data port when supported. Fit only the specified harness and interface. Complete any required programming using the manufacturer’s instructions; never assume connectors with the same shape share a pinout.
- For a discrete input, verify the output. Confirm whether the alarm output switches positive voltage or ground, its permitted load, and its activation behavior. Verify pulse behavior with equipment suited to the signal.
- Add the specified interface if needed. A relay, isolation device, or signal converter must suit both devices. Do not choose one from wire color alone or connect a siren feed directly to an unknown input.
- Secure and document the connection. Use the specified termination method, insulate exposed conductors, and secure the harness. Record connector positions and interface details for later service.
Expected result: A documented alarm event changes the tracker’s supported input state or appears as a supported data event, without disrupting the original alarm.
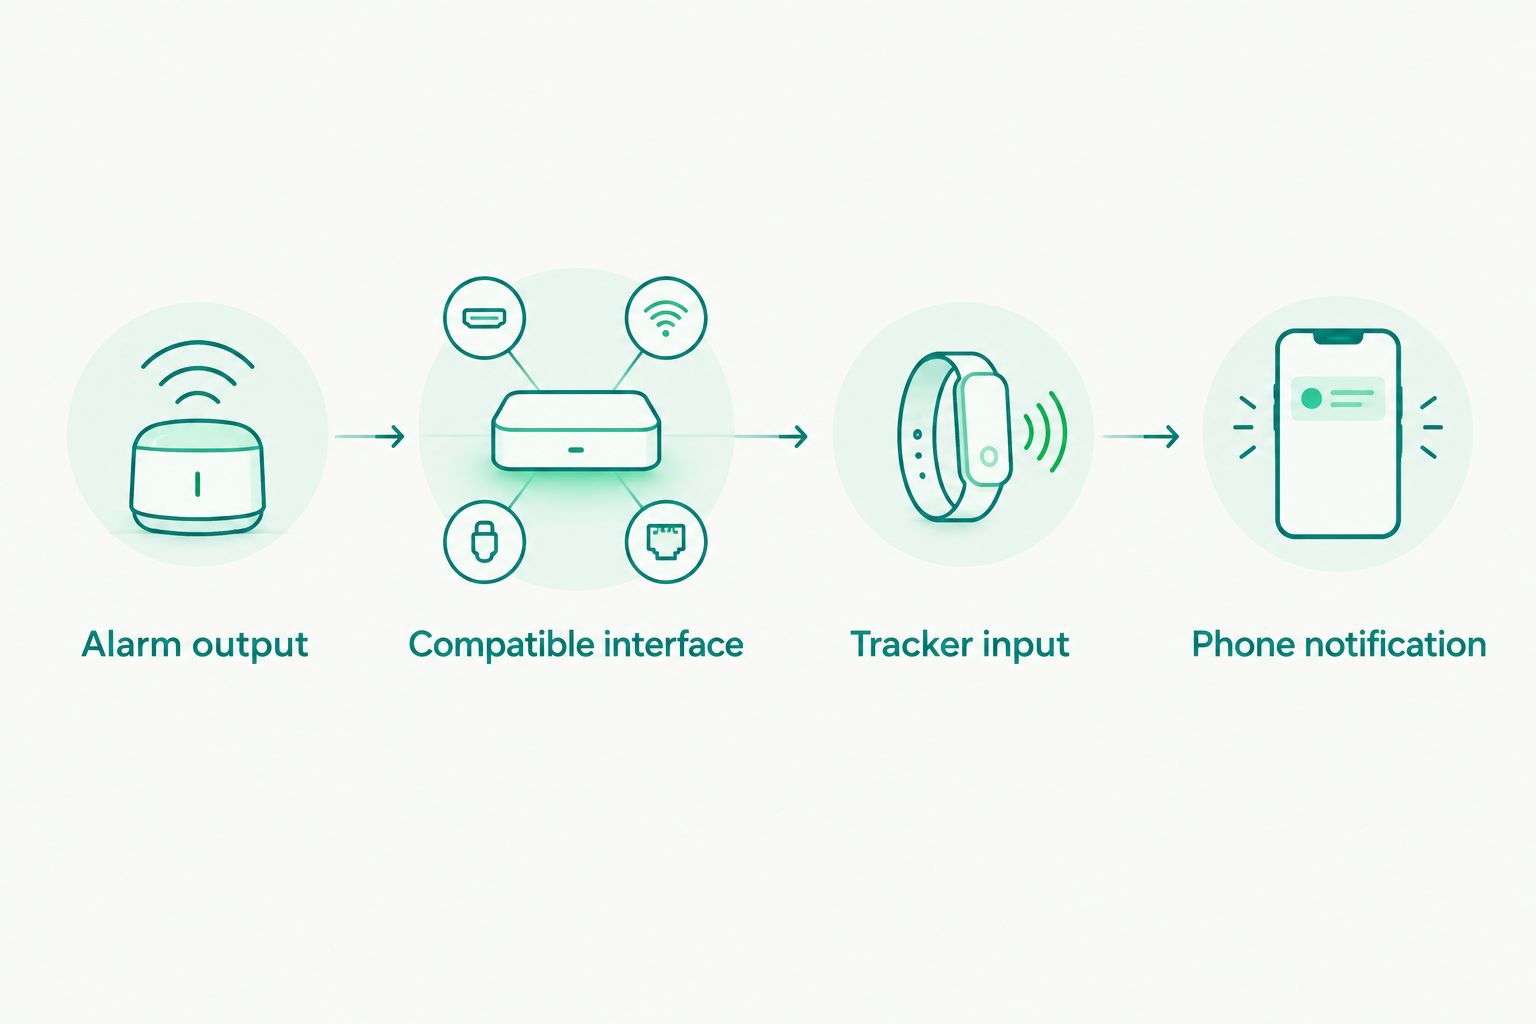
Never treat the siren circuit as a universal trigger source. A siren feed can have electrical characteristics the tracker cannot accept. Some alarm outputs also behave differently during a warning chirp and a full alarm event.
For the 2026 installation record, include the controller models, connector positions, interface configuration, and firmware details where available. That record makes later diagnosis more precise than a note saying only that the tracker is connected.
Configure notifications and verify operation
Event delivery
- Activate the tracker account. Complete the provider’s registration and connectivity checks. Confirm that the account shows the correct device and vehicle before enabling notifications.
- Assign the supported event. Configure the documented input behavior, including polarity and pulse filtering where supported. Use the manufacturer’s actual field names; there is no universal alarm setting across tracker apps.
- Enable the intended notification route. Configure the supported push, text, or email delivery method. Allow the required phone notifications and review settings that silence alerts.
- Trigger a controlled test. Arm the alarm, wait its documented arming delay, and activate a supported sensor safely. Check the alarm response, tracker event, phone notification, and location timestamp.
- Repeat and check normal use. Run 3 controlled test cycles, then check locking, unlocking, ignition operation, and normal vehicle use for unwanted alerts. Keep the test area clear and avoid unnecessary siren disturbance.
Expected result: The intended security event reaches the intended phone, and ordinary vehicle operation does not create the same alert.
A location shown beside an alert can be an earlier fix. Check its timestamp rather than assuming the map refreshed when the alarm activated. Test outdoors with suitable reception before diagnosing an indoor location failure.
During your 2026 handover, save a successful test event and record which notifications were enabled. Do not record account passwords in an installation worksheet or leave account access on a shared device.
Add a second workflow: movement while parked
An alarm-triggered alert and a movement alert answer different questions. The first reports a supported alarm event; the second reports movement detected by the tracker under its configured rules.
Best for: Owners who want a separate notification for unexpected movement while the vehicle is parked. Its advantage is an additional event path; its limitation is that movement detection does not prove a break-in or theft.
If your tracker supports movement or geofence alerts:
- Configure the supported movement event or draw the permitted area using the provider’s instructions.
- Set any available ignition-state, sensitivity, or delay conditions to match normal vehicle use.
- Test with an authorized driver and confirm how the system handles regular trips, service visits, and transport.
- Keep movement notifications distinct from the wired alarm event so you know what caused each alert.
A geofence is a geographic boundary, not an electrical connection to the alarm. It does not fix an incompatible trigger input. Label the workflows separately and test each one on its own.
Troubleshooting
The alarm sounds, but the tracker records no event
Check the documented output behavior, input polarity, interface configuration, and pulse requirements. Some outputs activate only during a full alarm, not during warning chirps. Verify the signal at the connection before changing app settings.
The tracker records an event, but the phone stays silent
Check the configured recipient, notification permissions, phone-silencing settings, account status, and provider connectivity. Separate event detection from message delivery: an event in the tracker history shows that at least part of the connection worked.
Locking or unlocking produces false alerts
Confirm that the chosen output represents an alarm event rather than an arm-status signal, lock pulse, or confirmation chirp. Use only supported filtering settings. Do not hide a wrong connection behind an arbitrary delay.
The alert arrives with an old location
Check the location timestamp, reception, antenna placement, and the provider’s update behavior. Move the vehicle outdoors for a controlled test. A delivered alarm event and a fresh position fix are separate results.
The vehicle battery runs down or the tracker keeps rebooting
Check supply stability, ground quality, fuse connections, sleep configuration, and total parked electrical draw. Have persistent battery drain measured after the vehicle enters its normal sleep state. Do not assume the tracker is the only added load.
Customize your workflow
Build around the notifications you will act on. Give each supported event a clear purpose, remove obsolete account users, and enable stronger account authentication when the service offers it.
Auto Sound Cape Coral provides automotive electronics installation in Southwest Florida. For a visit, bring the tracker and alarm model numbers, both manuals, and a plain description of the notification you want; confirm support for the equipment before authorizing work.
For a 2026 upgrade involving remote start, keep remote commands separate from security notifications. An alarm alert should not become an improvised engine-stop command. This guide does not cover starter interruption or remote immobilization.
FAQ
Can I connect any GPS tracker to any car alarm?
No. The alarm and tracker need a documented compatible data connection or an electrically compatible output and input. If neither exists, operate them separately or choose supported hardware.
Does plugging a tracker into the diagnostic port connect it to my alarm?
No, a diagnostic-port connection alone does not establish alarm integration. Alarm-event reporting requires explicit support from the tracker, vehicle, and any required interface.
Can I connect the tracker directly to the alarm siren wire?
Only when the equipment documentation explicitly supports that connection and its electrical characteristics. Otherwise, use the documented alarm output and specified interface rather than risking damage to the tracker input.
Will a GPS tracker send an alert without cellular service?
GPS reception alone does not deliver an alert to your phone. Remote notifications require the communication service supported by the tracker, along with account activation and configuration where required.
Can I keep my factory alarm and add GPS tracking?
You can retain a factory alarm and use a separate compatible tracker. Alarm-triggered notifications require a supported way to obtain the factory alarm event; adding power to a tracker does not provide that connection.
Will a hardwired tracker drain my car battery?
A hardwired tracker draws power, and its effect depends on its configuration, the vehicle battery, and other parked loads. Follow the equipment power-management instructions and investigate persistent drain with electrical measurements.
What should I bring to Auto Sound Cape Coral for help?
Bring your vehicle details, alarm and tracker model numbers, installation manuals, and the notification behavior you want. Confirm that Auto Sound Cape Coral supports the specific equipment before scheduling the work.
One last thing
Test the system after changing phones, not just after installing hardware. A working alarm connection does not guarantee that a replacement phone has the correct account, permissions, and notification settings.
Add that check to your 2026 vehicle-electronics record. The useful final test is an actual supported alarm event reaching the phone you carry, with a location timestamp you understand.