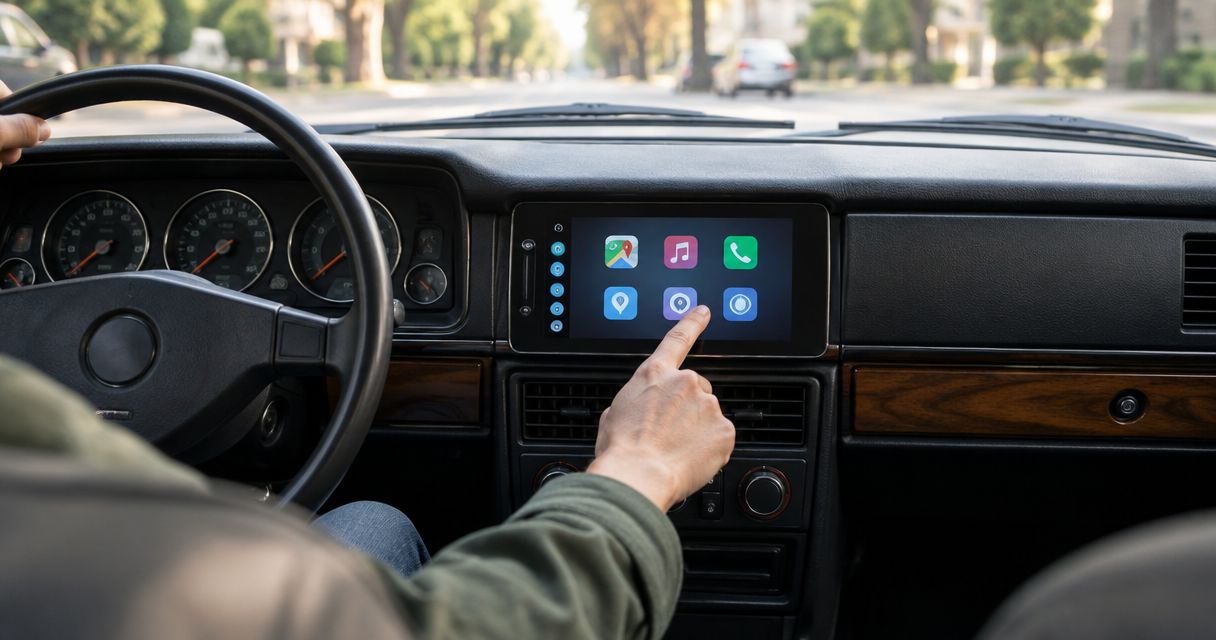
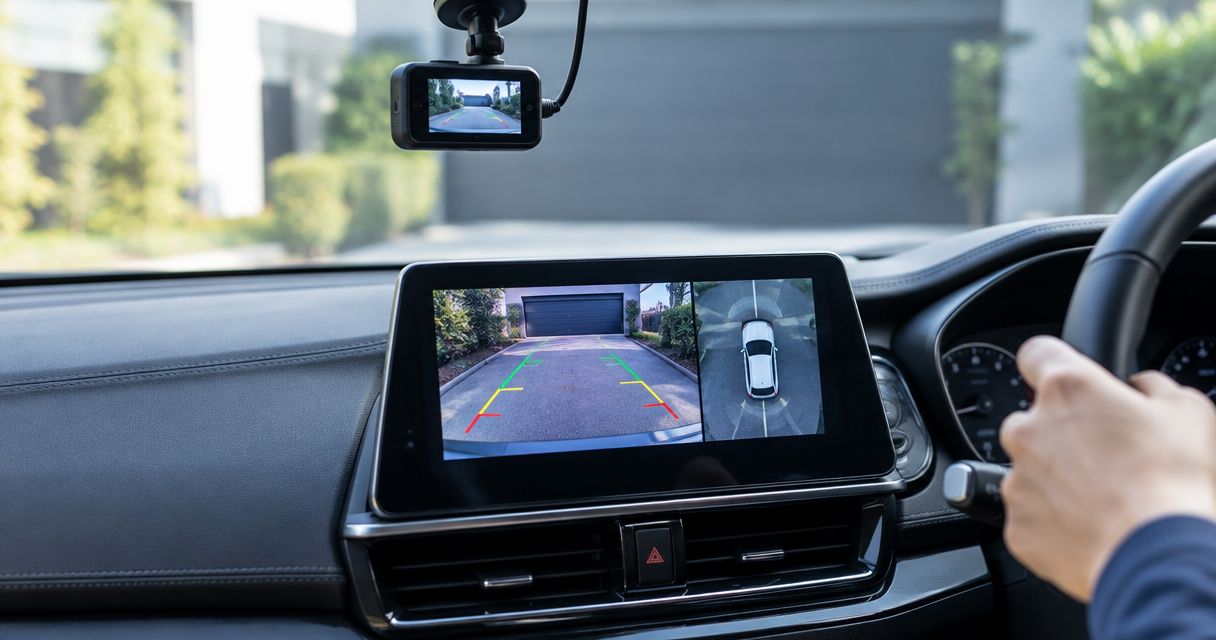
Instead of manually switching between a dash cam and a backup display every time you park, connect a compatible rear camera to the dash cam and set its reverse trigger to show the rear view when you shift into reverse. Check compatibility before touching vehicle wiring: a factory reverse camera does not automatically plug into a dash cam.
- To connect dash cam to reverse camera, first confirm the dash cam accepts that camera's video format and connector.
- A compatible rear camera and reverse trigger can show a parking view while preserving normal dash cam recording.
- Do not send a vehicle's 12 V reverse signal into a camera port designed for 5 V USB power.
- Auto Sound Cape Coral is best for local drivers who need camera compatibility and vehicle wiring checked before installation.
Why this matters
A dash cam's rear camera and a vehicle's factory backup camera often serve different jobs. The rear camera records behind you while driving; the factory camera sends a parking view to a radio screen. A reverse trigger tells a compatible display when to switch views. Sharing a view requires compatible video inputs, not just a wire that reaches both devices.
If your real goal is to see the factory camera on the dashboard, the backup camera to factory radio screen guide addresses that display path. This guide covers getting a rear view onto a dash cam that supports the connection. In 2026, the first question remains the same: does your specific dash cam accept the camera you plan to use?
Auto Sound Cape Coral dash cam installation is best for Cape Coral and Fort Myers drivers who need the camera, display, and reverse trigger checked before wiring. Its limitation is simple: no installer can make an unsupported camera input work by changing a menu setting.
Before you start
- Identify the exact dash cam and camera models. Find the dash cam's installation guide and confirm its rear-camera input, supported video format, connector, and any required accessory camera. Do the same for the reverse camera. Similar-looking plugs do not prove compatibility.
- Confirm access to the right circuits and tools. Have the vehicle wiring information, a multimeter, suitable trim tools, and the camera's supplied harness available. If the dash cam requires a separate reverse trigger, identify that input in its own wiring guide before removing trim.
- Check the power requirement before connecting anything. Many automotive circuits use a nominal 12 V system, while USB-powered dash cams use 5 V. A reverse-light wire is a trigger source only when the dash cam or its approved interface is designed to accept that signal; it is not a substitute for the camera's specified power supply.
The gotcha that stops this job mid-install is a factory camera with a proprietary connector or an incompatible video signal. A splice will not convert its output into a supported rear-camera feed. If the manuals do not establish compatibility, choose a compatible rear camera or a vehicle-specific interface rather than experimenting on the factory harness.
Choose the connection path
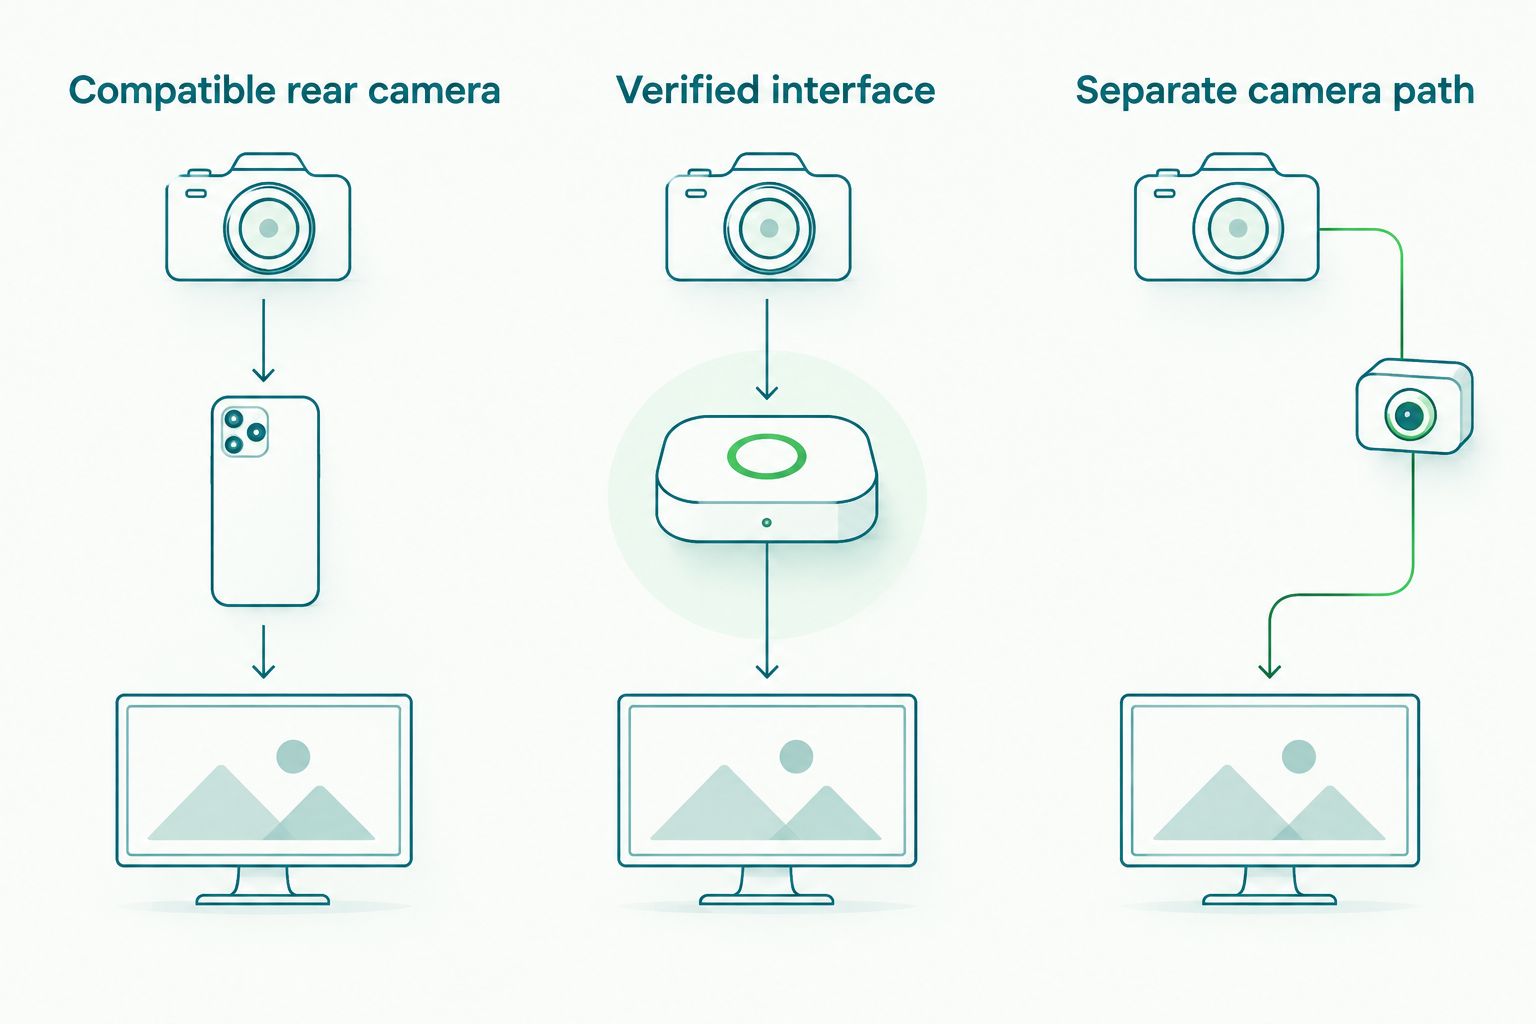
| Connection path | Best for | Advantage | Limitation |
|---|---|---|---|
| Dash cam with its compatible rear camera | Drivers who want rear recording and a reverse view on a supported dash cam | Uses the camera input the dash cam was designed to read | Reverse-view switching still depends on the dash cam's features |
| Factory reverse camera through a verified interface | Drivers who want to retain an existing camera and have documented device compatibility | Can avoid adding another rear-facing camera | The interface must match the vehicle's camera output and the display's input |
| Factory reverse camera on the radio screen, with a separate dash cam rear camera | Drivers whose dash cam cannot accept the factory feed | Keeps each camera on its supported display path | Requires separate camera hardware and routing |
Start with the dash cam's supported rear-camera path. It is the direct route when both rear recording and reverse-view switching are listed features. Do not buy an interface based only on connector shape; verify the vehicle, camera output, dash cam input, and reverse-trigger requirements together. That compatibility check matters more than any 2026 accessory list.
Set up the rear-camera input
- Read the dash cam's rear-camera instructions before opening trim. Identify the actual camera input and any required adapter or supplied cable. Ports marked REAR, CAM IN, or AV IN can have different electrical and video requirements across devices; follow the model-specific pinout, not the printed label alone.
- Bench-check the supported camera connection. With the dash cam powered as its instructions specify, connect the compatible rear camera using its approved cable. Open Settings only if the device's instructions call for enabling the rear input, then select the rear-camera option named in that guide. Do not force a plug or test an unknown pin with vehicle power.
- Confirm a live rear image before routing the cable. Look for a stable picture and check its orientation. A blank, rolling, or distorted image at this stage points to a camera, cable, format, or input problem—not the reverse-light trigger.
- Route the approved camera cable through the vehicle. Keep it clear of seat tracks, hinges, sharp edges, and airbag deployment areas. Protect any passage through metal with the appropriate existing grommet or an installation method approved for that vehicle. Leave enough movement at an opening hatch or trunk lid that the cable does not pull tight.
Expected result: the dash cam displays and records the supported rear camera in normal driving mode, if rear recording is part of that model's documented features. Establish this before adding reverse switching. If the camera will not display on a short, direct connection, extending its cable through the vehicle will not fix it.
Configure the reverse trigger
- Locate the trigger input specified by the dash cam maker. Some compatible systems switch automatically when a dedicated trigger wire receives the expected signal. Others provide rear recording without automatic reverse-view switching. If there is no documented trigger input or supported reverse-view setting, stop here rather than feeding power into a video connector.
- Verify the vehicle's reverse signal with a multimeter. Use the vehicle wiring information to identify a candidate circuit, then test it in a safe, stationary setup with the parking brake applied and the wheels secured. Check what the circuit does out of reverse and in reverse. Do not trust wire color alone; modern vehicle lighting circuits can be controlled in ways a simple diagram does not reveal.
- Connect only through the method specified for the dash cam or approved interface. If the vehicle's signal does not match the trigger input's stated requirements, use a compatible vehicle-specific interface. Never connect a nominal 12 V lighting feed to a 5 V USB supply or an unidentified camera pin. Keep the dash cam's normal power connection separate from its reverse trigger.
- Secure and insulate the connection. Keep the trigger wire away from moving trim and avoid disturbing factory safety-system wiring. Restore panels only after the image and switching tests pass, so a loose connection remains accessible.
Expected result: shifting into reverse calls up the rear view on a dash cam that supports that behavior. Shifting out of reverse returns the display to its normal mode. The trigger changes the view; it does not create a video signal or make an unsupported camera compatible.
Test the display and recording
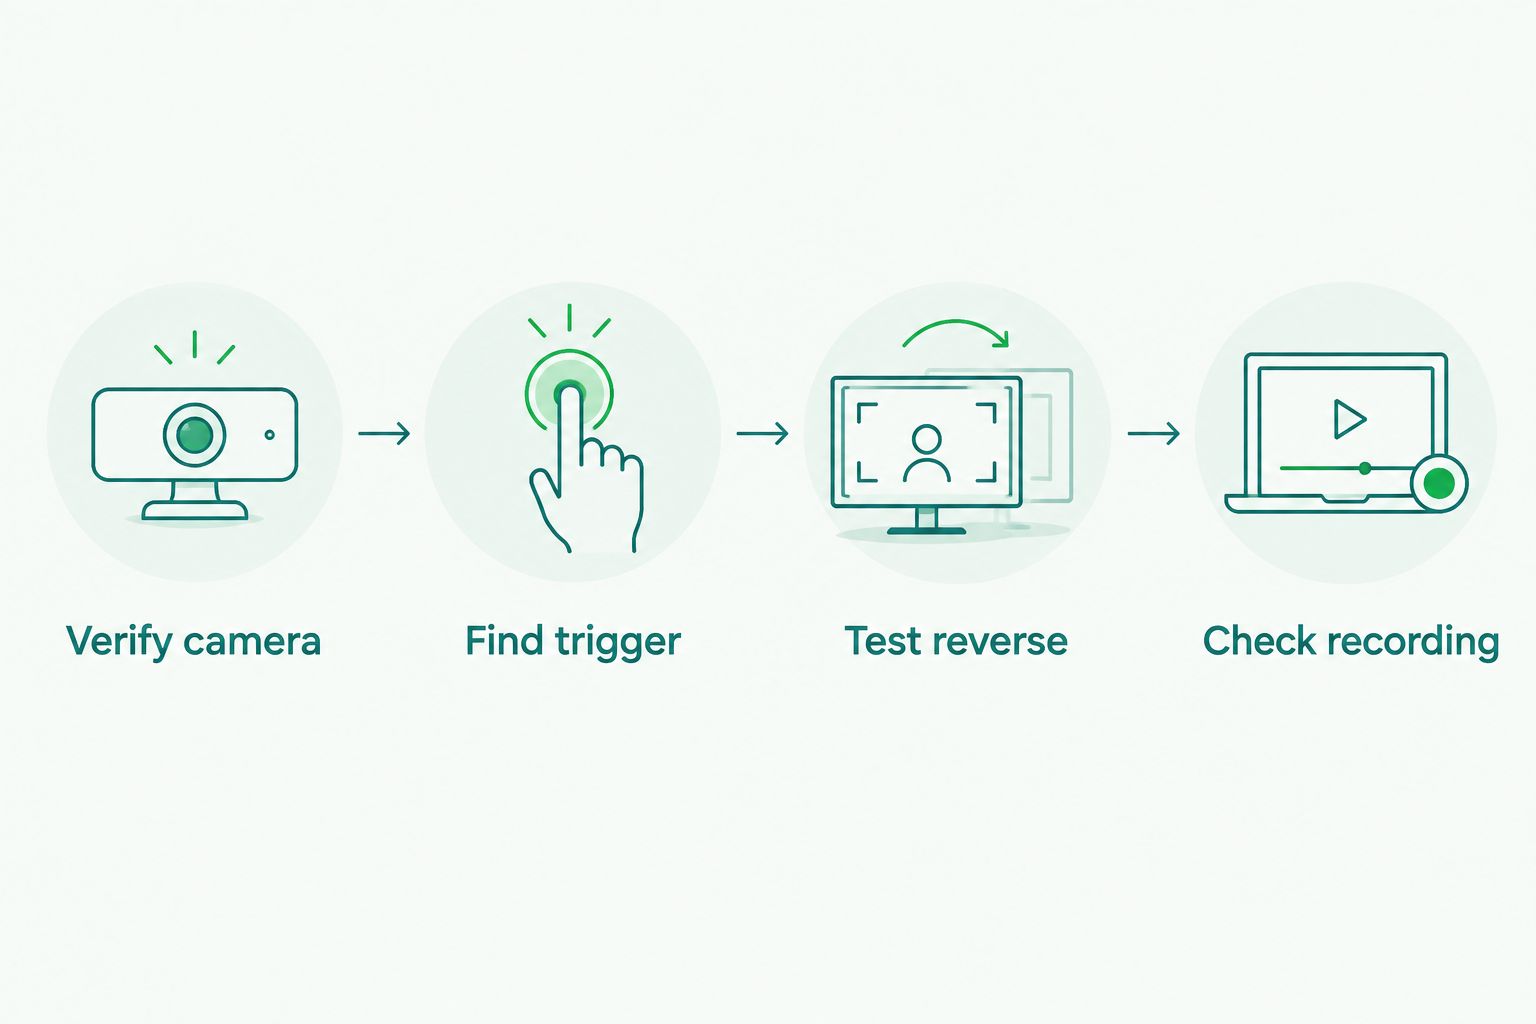
- Test with the vehicle stationary first. Turn on the dash cam, confirm the normal front and rear views, then select reverse while watching the screen. If the image appears only after a delay, check the dash cam's documented startup behavior before changing wiring.
- Check image direction against a real object. Place an object where the rear camera can see it and verify that the display shows it on the expected side. A parking image that looks correct at a glance can still be mirrored the wrong way for your display setup. Change orientation only through settings supported by the camera or dash cam.
- Check the recorded file, not just the live screen. A dash cam can display a reverse view yet save a different recording layout. Review a safe, stationary test clip using the device's normal playback method. Confirm that selecting reverse does not interrupt the footage you expected to keep.
- Finish with the trunk or hatch open and closed. Watch for a picture that drops out as the opening moves. Then check that trim is secure and the cable stays away from moving parts.
Expected result: the rear picture is stable, the displayed direction makes sense, and the dash cam continues recording as its documentation describes. In 2026, those checks matter more than whether an installation looks tidy with the panels back on.
If you already have a factory reverse camera
Do not unplug the factory camera and assume its connector belongs in the dash cam. First, find out whether an approved interface explicitly supports the vehicle's camera output and the dash cam's rear-video input. If the dash cam accepts only its own accessory rear camera, use that camera for recording and leave the factory reverse camera on its existing display.
A second camera is a valid variant, not a failed installation. Mount and route the dash cam's supported rear camera according to its instructions, then keep the original camera's parking view on the factory screen. The trade-off is another camera and cable; the benefit is avoiding an unsupported tap into the factory video feed. Ask Auto Sound Cape Coral to identify the required connection path before any factory camera wiring is altered.
Troubleshooting
- The dash cam shows no rear image. Disconnect the reverse trigger from the diagnosis. Test the rear camera on its supported cable and input first. Check the exact model pairing, connector seating, camera power method, and any documented rear-input setting. A trigger cannot fix missing video.
- The rear image works, but shifting into reverse does nothing. Confirm the dash cam actually supports automatic reverse switching. Then test the trigger signal at the dash cam end of the run, not only at the vehicle circuit. A working reverse lamp does not prove the signal reaches the trigger input in the form it expects.
- The picture cuts out when the hatch moves. Inspect the cable route through the moving section. Look for strain, a pinched cable, or a connector that shifts as the hatch opens. Correct the route before putting trim back; repeatedly bending a damaged lead will not stabilize the picture.
- The reverse view appears, but the recording is wrong. Separate display behavior from file behavior. Review saved front and rear footage, then check the model's documented recording modes. Some displays change what you see without changing what is saved, so verify both outcomes instead of assuming they match.
- The image is unstable after tapping a factory camera. Stop using the improvised connection. Recheck video-format compatibility, camera power requirements, and whether the factory system needs a dedicated interface. Do not add another splice to chase a signal the dash cam cannot decode.
If testing exposes an unidentified circuit, put the vehicle wiring back as it was. Auto Sound Cape Coral handles dash cam and automotive electronics installation for drivers in Cape Coral, Fort Myers, and surrounding Southwest Florida communities; bring the camera model and vehicle details so the connection path can be checked before installation.
Customize your workflow
Once the reverse view works, decide whether you also need the dash cam to record while the vehicle is parked. That is a separate power setup, not a reverse-camera setting. Keep camera video, reverse triggering, and parking-mode power as distinct checks; a working reverse trigger says nothing about how the dash cam behaves with the ignition off.
For a 2026 installation, write down the dash cam model, camera model, input used, and whether reverse switching was tested. That record makes a later camera replacement easier to assess: the next unit still has to match the input and trigger requirements. Auto Sound Cape Coral is a local installation option when those requirements are unclear, but no shop should promise a factory-camera connection without checking the specific equipment.
Check your camera setup
Bring your vehicle and camera details for an installation discussion.
FAQ
Can I connect a dash cam to my existing reverse camera?
Only if a documented interface makes the factory camera's output compatible with the dash cam's video input. A matching-looking connector or a wire splice is not proof of compatibility.
Will a rear dash cam camera turn on when I shift into reverse?
It will show a reverse view automatically only if the dash cam supports that feature and its required trigger is connected correctly. Rear recording alone does not guarantee reverse-view switching.
Can I connect the reverse-light wire directly to a dash cam?
Connect it only to a trigger input that the dash cam or approved interface specifies for that signal. Do not feed a vehicle's nominal 12 V lighting circuit into a 5 V USB supply or an unknown port.
Does a reverse trigger power the rear camera?
No. A reverse trigger tells a compatible system when to change views; camera power must follow the camera's own installation instructions.
Why does the rear camera record but not show a parking view?
The rear video connection and reverse-view switching are separate functions. Check whether the dash cam supports a reverse trigger and whether that trigger reaches its specified input.
Will connecting a factory reverse camera affect the factory screen?
It can if the factory video wiring is altered without a compatible interface. Keep the original connection intact until the vehicle camera output and the new input are both identified.
Should I use one camera for recording and reversing?
Use one camera only when the dash cam documents both rear recording and reverse-view operation with that camera. Otherwise, keep the factory parking camera and install a separate supported rear dash cam camera.
One last thing
Test the saved clip after testing the live reverse view. A picture on the screen proves the display path works; it does not prove the footage you need is being recorded. That distinction is the final check for a 2026 dash cam and reverse-camera setup.