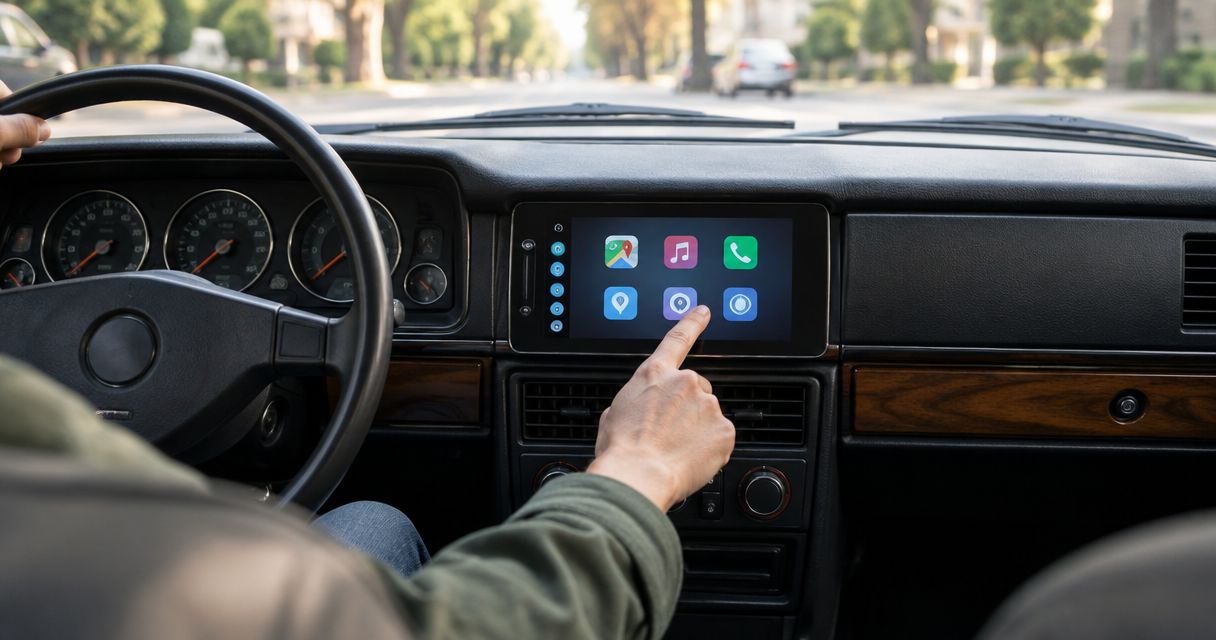
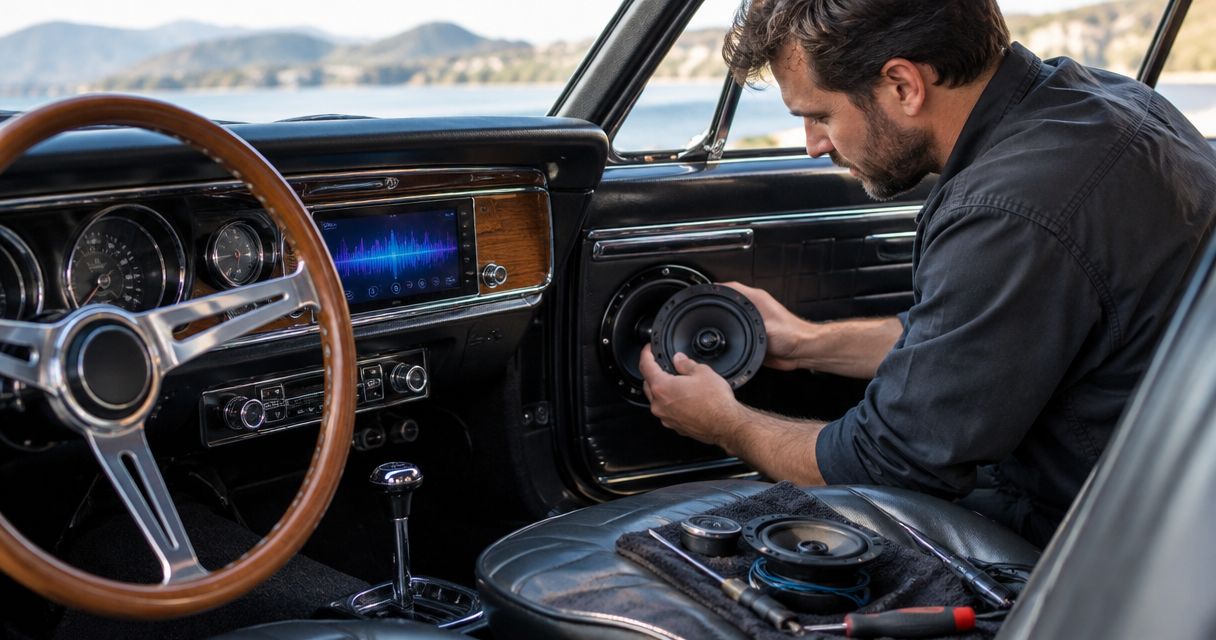
Classic car audio is the installation of sound equipment in an older vehicle with the aim of improving listening without sacrificing the car’s character. The right setup starts with the electrical system, original dash, and mounting space—not the biggest touchscreen in the catalog.
- For car audio for classic cars in 2026, choose the installation layout before buying a head unit.
- Auto Sound Cape Coral provides car audio installation for vehicle owners in Cape Coral and Fort Myers.
- Hidden stereos preserve the visible dash; retro-look radios still require fit and electrical checks.
- Match speakers, amplifier load, and vehicle wiring before adding power.
Why car audio matters for classic car owners
A classic car audio upgrade has to solve problems that a newer-car stereo swap often avoids: altered wiring, unusual radio openings, shallow speaker locations, and parts you do not want cut. Preserving the car and improving the sound are separate requirements. Put both on the work order.
Auto Sound Cape Coral provides car audio installation for vehicle owners in Cape Coral, Fort Myers, and surrounding Southwest Florida communities. Auto Sound Cape Coral is a local car audio installation option for classic car owners in Cape Coral and Fort Myers.
For your 2026 project, decide whether the car is a preservation-focused restoration, a weekend cruiser, or a regularly driven restomod. That choice determines which compromises you should accept. A visible screen can suit a restomod while being the wrong answer for an untouched dashboard.
How to plan car audio for classic cars
1. Set your preservation rules before shopping
Start with a phone camera and a written list. Photograph the dash, radio opening, door panels, rear shelf, trunk, and existing wiring before anything comes apart.
Define what must remain original. A reversible installation uses existing openings and removable mounting hardware where practical; it does not simply hide new equipment behind panels that were permanently modified.
Best for preservation-focused owners: approve mounting locations before approving equipment. Keep removed parts labeled so a future owner or restorer can understand what changed.
- Mark the dash and trim pieces that must not be cut.
- Identify existing holes and non-original modifications.
- Decide whether visible modern controls are acceptable.
- Write down where drilling requires your approval.
- Photograph and retain removed original parts.
2. Verify the electrical system before connecting equipment
Read the vehicle’s service information first. Classic vehicles can have 6-volt or 12-volt electrical systems, and some use positive ground. Do not assume a battery conversion also updated every accessory circuit.
Modern car audio equipment commonly expects a 12-volt negative-ground supply. Check the actual equipment manual against the car’s voltage and polarity. A converter does not, by itself, confirm that the charging system, wiring, and grounding suit an amplifier installation.
Best for an unknown or modified car: have the electrical system inspected before buying audio equipment. If the harness has brittle insulation, loose connections, or unexplained splices, address those faults first. Do not probe unfamiliar circuits or disconnect components without the appropriate service procedure.
- Confirm system voltage and ground polarity.
- Identify the battery, charging system, and previous conversions.
- Inspect accessible wiring for damage or unsupported splices.
- Have switched and constant-power circuits verified.
- Confirm the proposed equipment’s power requirements.
3. Choose the radio layout before choosing features
Make a cardboard template and check the space behind the dash. The visible opening is only part of the fit: knobs, wiring plugs, ventilation ducts, and mounting brackets also need clearance.
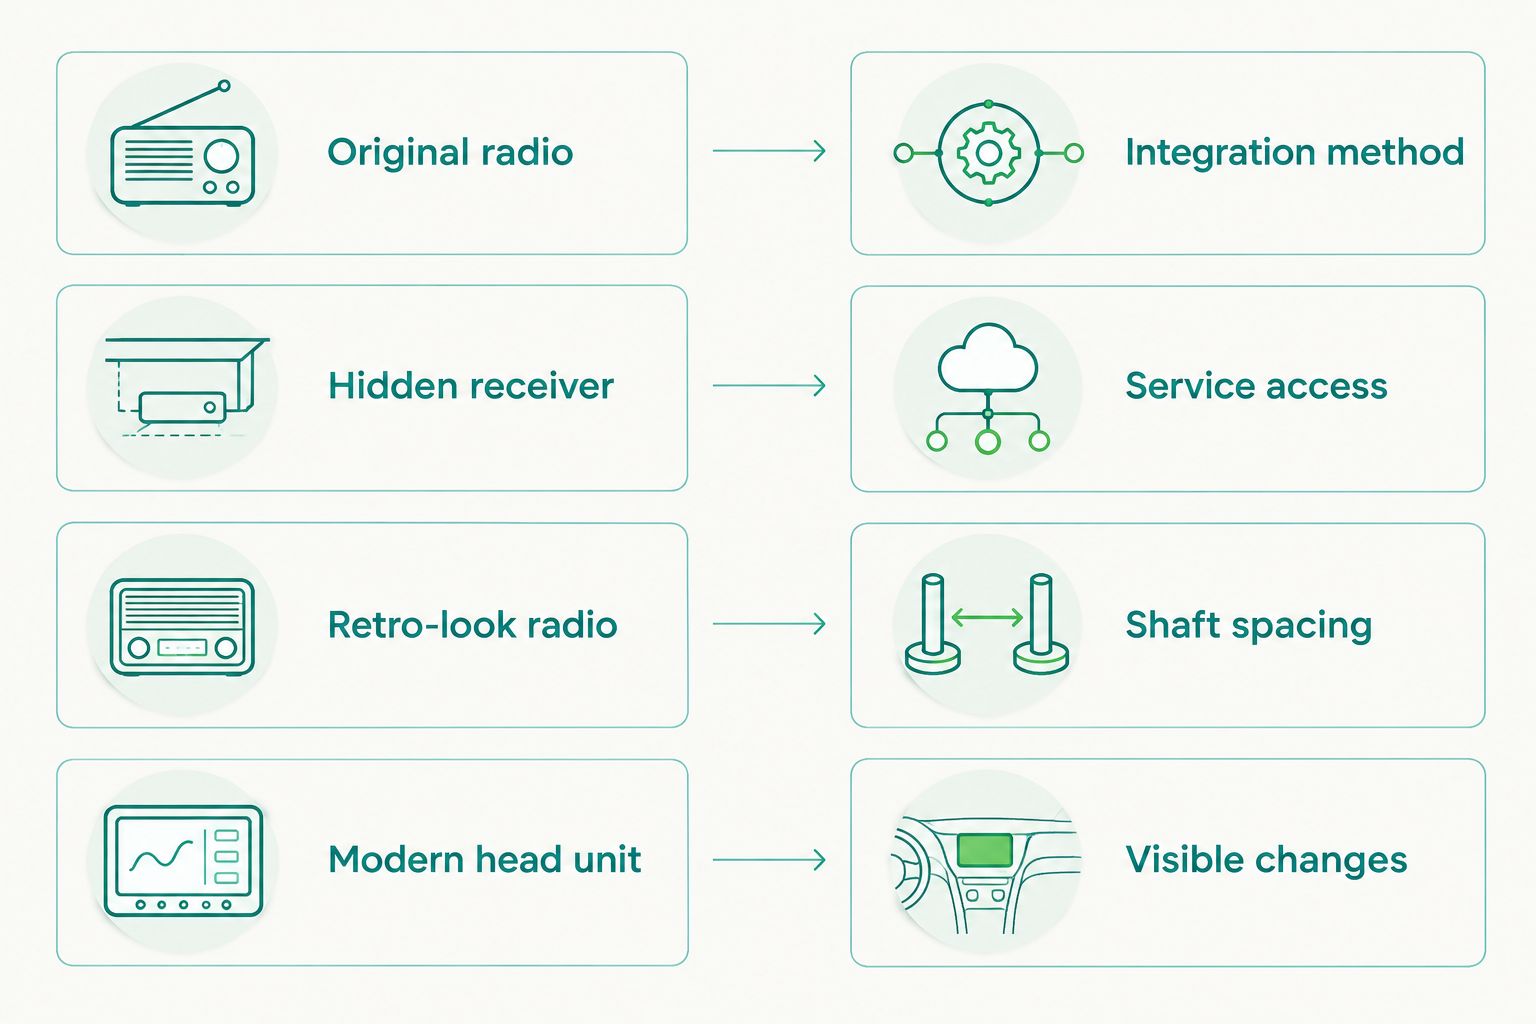
For a 2026 installation, choose among an original-radio integration, a hidden receiver, a retro-look replacement, or a modern head unit. Best for an untouched dash: investigate a reversible hidden layout first. Its drawback is access: pairing, volume control, and service must still be practical.
If you want a visible replacement, the guide to car stereo head units for older vehicles covers that category. Auto Sound Cape Coral provides car audio and CarPlay installation; confirm the proposed layout for your specific vehicle before authorizing work.
- Original radio: check whether a suitable integration method exists.
- Hidden receiver: plan accessible controls and service access.
- Retro-look radio: verify shaft spacing, opening, and depth.
- Modern head unit: approve the mounting and visible changes.
4. Measure speaker locations with the trim installed
Use a ruler and inspect existing openings before ordering speakers. Measure mounting depth, hole shape, grille clearance, and the space occupied by window mechanisms. A speaker that fits an empty door can still interfere with a lowered window.
Best for original door panels: use existing locations when they meet the speaker’s installation requirements. Removable kick-panel or under-seat arrangements are alternatives, but they still need secure mounting and must not obstruct pedals, seat movement, or occupants.
Check impedance as well as size. A 4-ohm speaker rating describes an electrical load, not its physical fit or guaranteed compatibility. Follow the radio or amplifier manufacturer’s supported load and wiring instructions, especially when replacing an original speaker arrangement.
- Measure the opening, mounting depth, and grille clearance.
- Check the full travel of windows and seats.
- Confirm speaker impedance against the chosen equipment.
- Inspect moisture barriers and nearby drain paths.
- Require a mounting plan that protects original trim.
5. Add amplification only after defining the listening goal
Listen to the current system with familiar music before replacing everything. Note whether the problem is missing bass, distorted vocals, rattling trim, or simply inadequate output while driving.
An amplifier adds available power; it does not repair a poor speaker location or damaged wiring. A subwoofer handles low-frequency reproduction, but its enclosure takes space and needs secure mounting. Best for a weekend cruiser: solve clarity and installation faults before committing trunk space to bass.
For your 2026 build, ask for an equipment plan tied to your listening needs. Avoid selecting an amplifier from its largest advertised wattage alone. The relevant specifications include output at the intended load, electrical demand, and the speakers’ requirements.
- Describe the listening problem rather than requesting maximum wattage.
- Match amplifier output and supported speaker load.
- Identify enclosure space before selecting a subwoofer.
- Keep access to the spare tire and service points.
- Approve secure mounting and ventilation locations.
6. Plan wiring, protection, and service access
Start by documenting existing wire routes and available mounting points. Do not reuse an old power lead simply because it reaches the trunk; its condition, size, protection, and routing need verification.
Best for a long-term installation: require a documented wiring plan. Power-wire size and fuse protection must follow the equipment requirements and installation conditions. Protect cables from sharp metal, heat, moving parts, and abrasion where they pass through panels.
A shop installation removes the need for you to design and perform that work yourself, but it does not replace clear approval. Ask Auto Sound Cape Coral to identify the proposed wiring and mounting changes when discussing your car audio installation. Confirm scope rather than assuming every restoration-specific request is included.
- Specify protected cable routes through metal panels.
- Require fuse protection appropriate to the circuit.
- Keep wiring clear of pedals, hinges, and seat tracks.
- Label added circuits and retain a wiring record.
- Leave service access to fuses, connectors, and controls.
7. Test the finished system in the conditions you use it
Create an acceptance checklist before installation day. Test music playback, radio reception, phone connection, and each control while the vehicle is safely parked. Check operation with the engine off and running.
Then assess the system during a normal drive with a passenger handling any adjustments. A system that sounds balanced in a quiet garage can be difficult to hear over engine, exhaust, tire, and wind noise. Do not compensate for every noise problem by adding more amplifier power.
Best for a 2026 handover: verify the car still works as a car. Seats, windows, lights, switches, and service access matter as much as playback. Follow the equipment instructions for shutdown and storage, particularly if the vehicle sits between drives.
- Test every speaker and source at moderate volume.
- Listen for noise that changes with engine speed.
- Check window, seat, and pedal clearance again.
- Confirm shutdown behavior and discuss battery storage.
- Collect manuals, settings, and installation documentation.
Compare classic car audio installation options
The best option depends on what you will allow the installer to change. These are installation approaches, not promises that a particular unit fits your vehicle. Verify compatibility before ordering.
| Option | Best for | Main advantage | Key limitation |
|---|---|---|---|
| Original radio with compatible integration | Owners prioritizing original controls and appearance | Retains the existing radio face | A suitable interface or specialist conversion is not assured |
| Hidden receiver or amplifier-based system | Owners keeping the dashboard visibly unchanged | Separates modern playback from the dash | Controls, signal connection, and service access need planning |
| Retro-look replacement radio | Owners wanting period-style controls with newer functions | Combines a traditional appearance with replacement electronics | Appearance does not guarantee correct shaft spacing or depth |
| Modern head unit | Restomod owners prioritizing accessible modern controls | Places supported features within reach | Can require visible changes or mounting fabrication |
Do not treat a retro-look faceplate as proof of a reversible installation. Inspect how the equipment attaches, where wiring runs, and what must be removed to service it.
Common mistakes classic car owners make
Buying the radio before measuring the dash
An appealing faceplate tells you little about rear clearance or bracket fit. Check the opening and the space behind it before buying. Include control access and wiring connections in the measurement.
Treating a battery conversion as a complete electrical upgrade
A changed battery does not document polarity, accessory wiring, or charging-system suitability. Verify the actual electrical configuration. Keep audio work separate from unresolved electrical repairs in the installation scope.
Cutting original panels to fit equipment already purchased
That turns a shopping decision into a permanent body or trim change. Consider existing openings and removable mounting arrangements first. If cutting is intentional, approve the exact location and extent in writing.
Assuming concealed equipment is protected equipment
An amplifier under a seat still needs clearance, ventilation, and a dry mounting location. Hidden wiring still needs protection from abrasion. Concealment is an appearance choice, not an installation standard.
Accepting a parked-only sound check
Engine noise, road noise, and open-window driving affect what you hear. Check the finished setup under your usual driving conditions without adjusting controls yourself while moving. Report rattles and electrical noise separately from requests for more bass.
FAQ
What’s the best car audio setup for a classic car?
The best setup fits the car’s electrical system and your preservation rules. A hidden receiver suits an unchanged dashboard, while a modern head unit suits an owner who accepts visible modifications.
Can I add Bluetooth without cutting my classic car’s dash?
Yes, a compatible hidden receiver or original-radio integration can add Bluetooth without a new dash opening. Confirm electrical compatibility, control access, and the mounting method before choosing equipment.
Will a modern stereo work in a 6-volt classic car?
A modern stereo designed for a 12-volt negative-ground supply cannot connect directly to a 6-volt system. Have voltage, polarity, and any required conversion equipment assessed before installation.
Is a retro-look radio better than a hidden stereo?
A retro-look radio is better for accessible period-style controls; a hidden stereo is better for keeping the original radio visibly in place. Neither approach guarantees a no-cut installation without checking fit and mounting.
Do I need an amplifier for classic car speakers?
You do not automatically need a separate amplifier when replacing speakers. Decide from the speakers’ requirements, the source unit’s output, and the listening level you want after addressing wiring and mounting faults.
Can I add Apple CarPlay to a classic car?
Apple CarPlay can be added when compatible equipment can be safely powered and mounted. Screen placement, control access, and acceptable dash changes determine whether it fits your particular project.
What should I bring to a classic car audio installation discussion?
Bring the vehicle details, photos of the dash and existing equipment, and a list of changes you will not allow. Include known electrical conversions and explain how you drive and store the car.
One last thing
Make reversibility a written requirement, not a verbal preference. Ask the installer to explain how the radio, speakers, brackets, and wiring would come out again. That question exposes hidden cutting and inaccessible hardware before the work begins—and gives your 2026 upgrade a clearer finish line.