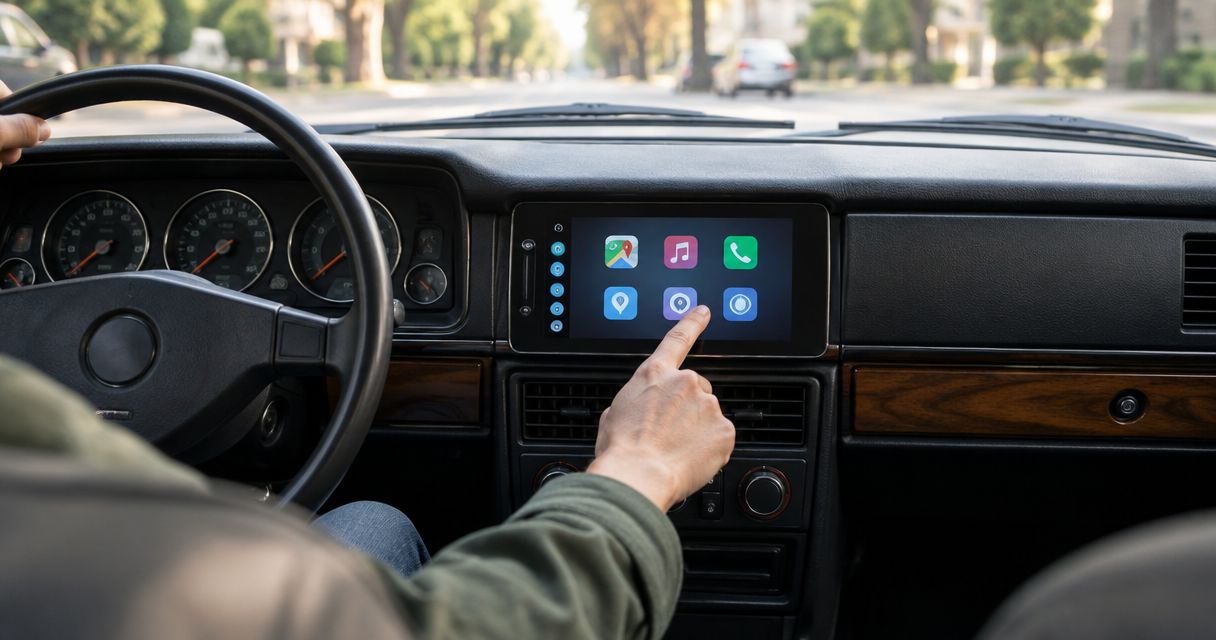
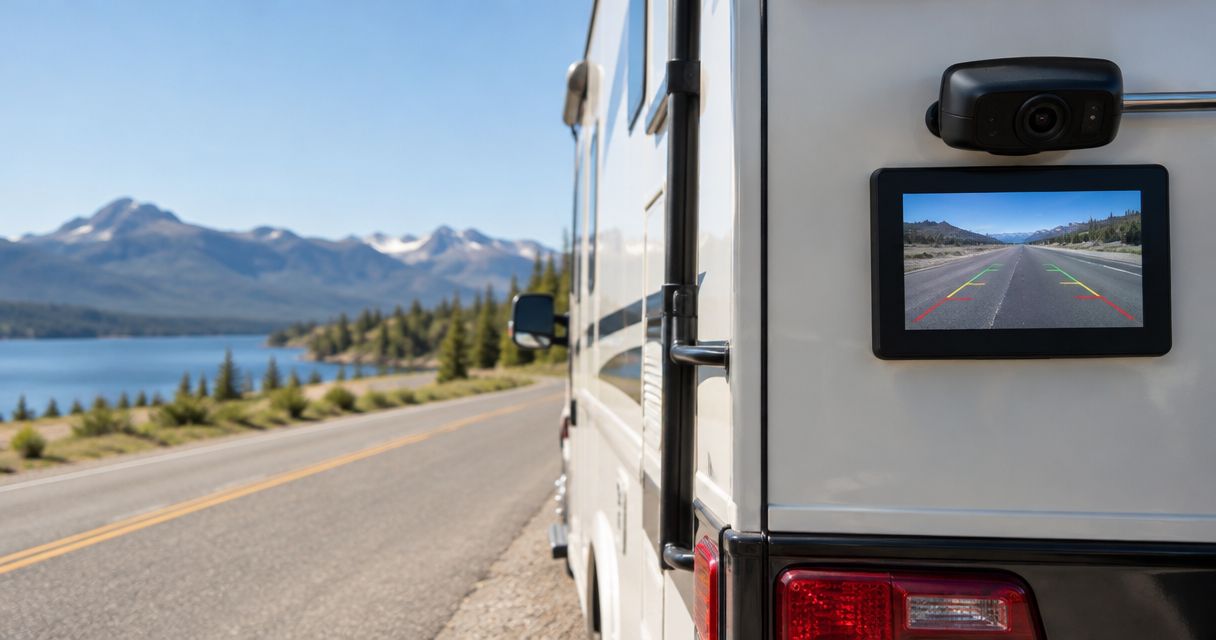
Best overall for a motorhome with a usable cable route: a wired rear camera with a dedicated monitor. Best for a detachable travel trailer: a wireless rear camera with a cab monitor. Best for hitch alignment: a portable hitch camera. The best backup camera system for RV use in 2026 depends on your rig, power source, and the view you need—not the biggest screen.
- Choose a wired backup camera system for RV use when a protected cable route is practical.
- Choose a wireless rear camera for a detachable trailer, but test reception with the complete rig connected.
- Choose factory-screen integration only after confirming camera input, video format, and display controls.
- Auto Sound Cape Coral serves Cape Coral and Fort Myers vehicle owners with automotive electronics installation.
Why this matters
An RV camera has two separate jobs: showing the area behind the vehicle and displaying that view when you need it. A clear picture in reverse does not automatically mean the system supports rear observation while driving.
Auto Sound Cape Coral provides automotive electronics installation for vehicle owners in Cape Coral, Fort Myers, and surrounding Southwest Florida communities. Before discussing an RV camera installation, identify the vehicle, trailer, existing screen, and intended use. Those details determine the equipment questions to resolve.
What makes the best RV backup camera system?
Use these criteria to choose your 2026 setup:
- Signal path: Choose a protected video cable route or verify wireless reception on the assembled rig.
- Power source: Confirm when the camera receives power, including whether you need a view outside reverse.
- Useful coverage: Show the rear clearance area, hitch, or side approach you actually need to see.
- Display fit: Keep the image visible without blocking your road view or important controls.
- Installation fit: Check mounting surfaces, cable entry points, connectors, and trailer disconnection.
- Service access: Keep fuses, connections, and replaceable components accessible.
Choose the camera layout before choosing the screen size. A larger display cannot reveal an area outside the camera's field of view.
RV backup camera systems at a glance
These are system configurations, not model-specific product rankings. Each configuration solves a different installation problem.
| Rank and configuration | Best for | Standout feature | Key limitation |
|---|---|---|---|
| 1. Wired rear camera and dedicated monitor | Motorhomes with an accessible cable route | Direct video connection to its own display | Requires a protected front-to-rear cable route |
| 2. Wireless rear camera and cab monitor | Detachable travel trailers | Video crosses the truck-trailer connection wirelessly | Reception needs testing on the complete rig |
| 3. Factory-screen camera integration | Owners retaining a compatible factory display | Uses the existing dashboard screen | Input and display behavior require verification |
| 4. Multi-camera monitor system | Owners needing separate rear and side views | Multiple camera positions cover different areas | More wiring, mounting, and display decisions |
| 5. Portable hitch camera | Drivers lining up a hitch connection | Temporary camera placement near the coupling | Does not replace a rear-mounted trailer camera |
1. Wired rear camera: best for a motorhome cable route
A wired rear camera sends video through a cable to a dedicated monitor. Choose this configuration when you can run and protect the cable between the rear camera and the driver's position without interfering with moving parts or service access.
For a straightforward 2026 motorhome installation, start with 1 rear camera aimed to show the clearance area behind the RV. Decide whether you want reverse-only viewing or rear observation while driving before selecting the power arrangement and monitor controls.
Wired rear camera pros:
- A physical cable carries the video signal.
- A separate monitor avoids depending on factory-radio camera support.
- Camera position and monitor position can be planned independently.
Wired rear camera cons:
- Routing cable through a finished RV requires careful planning.
- Exterior cable entries need suitable sealing and strain relief.
- A separate monitor adds another object to the driver's workspace.
Best for: A motorhome owner who has a practical cable route and wants a dedicated rear view.
Buy: Choose this layout after confirming the cable route, power source, and mounting positions. Skip it if the proposed route leaves cable exposed to abrasion or moving components.
2. Wireless rear camera: best for a detachable trailer
A wireless rear camera transmits video to a monitor in the tow vehicle. Wireless video removes the need for a continuous video cable across the truck-trailer connection, but the camera still needs a power source unless its design includes its own battery.
For a travel trailer, test the picture with the trailer connected and the monitor in its intended cab position. An advertised transmission range does not demonstrate reception through your particular tow vehicle and trailer.
The wireless backup camera systems guide covers this configuration beyond RV-specific installation decisions.
Wireless rear camera pros:
- No video cable needs to cross the hitch connection.
- A dedicated monitor separates camera viewing from radio operation.
- The configuration suits a trailer that disconnects from its tow vehicle.
Wireless rear camera cons:
- Reception depends on the installed arrangement and surrounding interference.
- A hardwired camera still needs suitable power and ground connections.
- A matching-looking factory mounting bracket does not prove electrical compatibility.
Best for: A travel-trailer owner prioritizing a detachable truck-trailer connection.
Buy: Choose wireless after an installed-position reception check. Wait if the purchase decision rests only on a range claim or a bracket that looks compatible.
3. Factory-screen integration: best for retaining the dashboard display
Factory-screen integration routes a compatible camera image to the vehicle's existing display. This avoids adding a separate monitor, but compatibility involves more than finding a connector that fits.
Confirm the screen's accepted video format, required interface, reverse trigger, and manual camera controls. If you want rear observation while driving in 2026, verify that exact function; a reverse input alone does not establish it.
Factory-screen integration pros:
- Uses a display already positioned in the dashboard.
- Avoids a separate camera monitor and its mounting hardware.
- Keeps camera viewing within the existing dashboard workspace.
Factory-screen integration cons:
- Some installations require a vehicle-specific interface or configuration.
- The screen's controls determine when the image can appear.
- An RV or trailer camera is not automatically compatible with a factory camera input.
Best for: An owner whose factory display has confirmed support for the intended camera and viewing mode.
Hold: Verify the complete connection plan before buying. Choose a dedicated monitor if factory integration cannot provide the viewing behavior you need.
4. Multi-camera system: best for separate rear and side views
A multi-camera system connects cameras in different positions to a monitor that can select or combine their views. Choose it when one rear-facing image leaves specific areas you need to inspect.
Map the job of each camera first. A layout with 2 cameras can separate hitch alignment from rear clearance; a layout with 4 cameras can assign individual views to the rear, hitch, and each side. These are planning examples, not a requirement to fill every monitor input.
Multi-camera system pros:
- Different camera positions address different blind areas.
- A compatible monitor can keep the views on one display.
- You can plan coverage around the rig's actual maneuvering needs.
Multi-camera system cons:
- Each camera adds mounting, power, and connection work.
- Split-screen viewing reduces the display area devoted to each image.
- Camera switching requires clear controls and sensible setup.
Best for: An RV owner who can identify separate rear, hitch, and side-view needs.
Buy: Add cameras for named blind areas. Skip extra cameras that duplicate an existing view without helping you judge clearance.
5. Portable hitch camera: best for coupling alignment
A portable hitch camera gives you a temporary view of the hitch and coupling area. Position it for the alignment task, confirm the image orientation, and follow the camera's mounting and use instructions.
This is a task-specific tool, not a substitute for a camera at the rear of the trailer. A hitch view cannot show what is behind the RV body.
Portable hitch camera pros:
- Lets you choose a viewpoint focused on the coupling.
- Avoids permanent camera mounting when used as a temporary setup.
- Can supplement a rear camera with a different view.
Portable hitch camera cons:
- Positioning and securing the camera become part of the hookup routine.
- Battery-powered designs require charging or battery checks.
- A close hitch view does not provide rear-trailer clearance coverage.
Best for: A driver whose specific problem is lining up the hitch.
Buy: Use it for coupling alignment. Skip it as your only camera if your main concern is reversing the complete RV into a campsite.
Check the installation before you commit
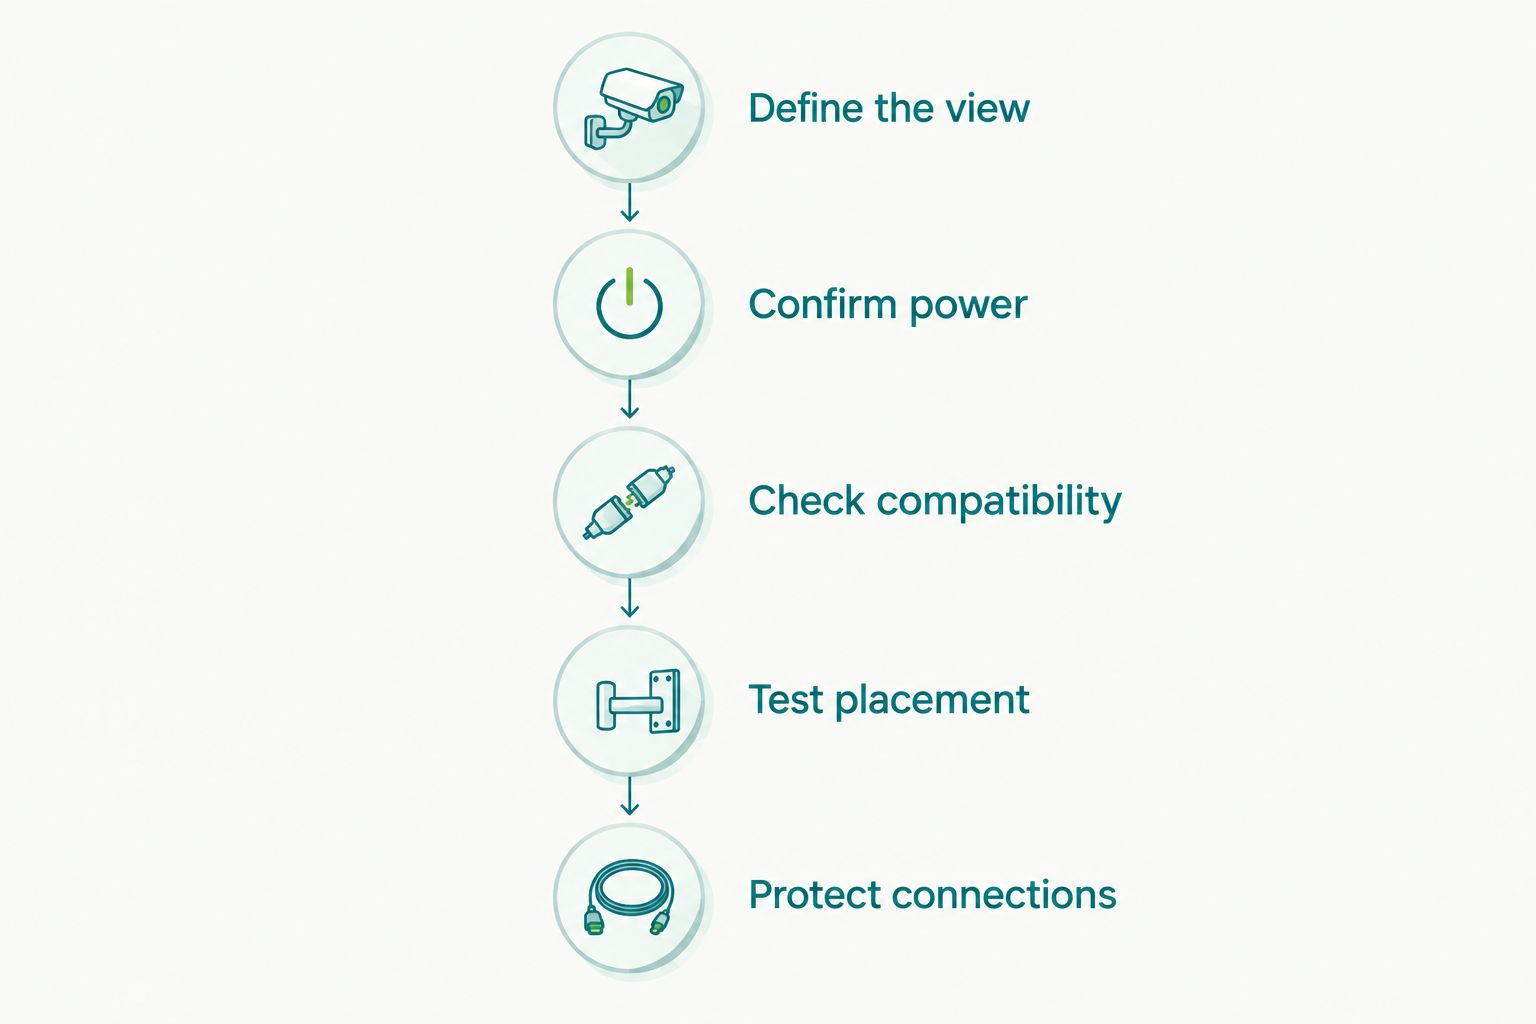
For a 2026 installation, use this sequence before mounting equipment permanently:
- Define the view. Decide whether you need rear clearance, hitch alignment, side coverage, or several separate views.
- Confirm power. Identify an appropriate fused supply and verify when it is active. Reverse-only power cannot support continuous observation.
- Check compatibility. Match the camera, monitor, connectors, and any required interface using the equipment documentation.
- Test placement. Check the camera angle and monitor visibility in their proposed positions before drilling.
- Protect connections. Plan sealed entries, strain relief, abrasion protection, and access for service.
A successful bench test is not the final installation test. Check the complete rig with its normal connections and the monitor in the driver's viewing position.
Ask for the installation scope in writing. It should identify camera locations, display location, power behavior, cable routing, and any factory-screen interface. Keep equipment selection separate from assumptions about what the vehicle already supports.
For local automotive electronics work, Auto Sound Cape Coral serves Cape Coral and Fort Myers vehicle owners. Bring the RV and tow-vehicle details when asking whether the proposed camera job fits the shop's installation services.
How these configurations are ranked
The ranking follows installation fit: signal path, power, coverage, display usability, and service access. Wired takes the default motorhome position when a protected cable route exists; wireless takes the detachable-trailer position because it avoids a video cable across the hitch.
This 2026 guide ranks layouts by use case, not by unverified product specifications. Factory-screen integration, multi-camera coverage, and portable hitch viewing each win a narrower job rather than competing for the same overall recommendation.
Which RV camera setup should you choose?
Choose a wired rear camera and dedicated monitor for a motorhome with a practical cable route. Choose a wireless rear camera and cab monitor for a detachable travel trailer after verifying reception. Those are the default starting points.
Keep the factory screen only when compatibility and viewing controls are confirmed. Add side or hitch cameras when you can name the missing view. Do not buy extra inputs simply because a monitor supports them.
FAQ
What's the best backup camera system for RV use in 2026?
A wired rear camera with a dedicated monitor is the default choice for a motorhome with a practical protected cable route. A wireless rear camera better fits a detachable trailer when reception is verified on the assembled rig.
Is a wired RV backup camera better than wireless?
Wired is the better fit when you want a physical video connection and have a suitable cable route. Wireless better suits a detachable trailer because the video connection does not need to cross the hitch through a cable.
Does a wireless RV camera still need wiring?
A wireless camera still needs power unless its design includes a battery. Wireless describes the video connection, not necessarily the power arrangement.
Can I use my factory radio screen for an RV camera?
You can use a factory screen only when it supports the camera through a compatible input or interface. Confirm video format, reverse triggering, and any manual-view function before choosing equipment.
Can I leave my RV rear camera on while driving?
Rear observation while driving requires equipment and a power arrangement designed to support that mode. A camera powered only by the reverse circuit cannot provide continuous rear observation.
How many cameras does an RV need?
Start with one rear camera if rear clearance is your only viewing need. Add hitch or side cameras when those positions show a separate area the rear camera cannot cover.
Can a hitch camera replace a rear backup camera?
A hitch camera cannot replace a rear-mounted RV camera for rear clearance. Its close-up view helps coupling alignment, not visibility behind the trailer body.
One last thing
A centered camera can still be aimed badly. Before final tightening, place a visible reference behind the parked RV and confirm where it appears on the display while someone watches the actual clearance area.
Set the camera angle for judging space, not for producing the widest-looking picture. Keep using mirrors and a spotter when needed; the monitor shows only what its cameras can see.